One of the common questions we get asked about using WordPress has to do with adding new menu options. Here is how you do it.
Adding a Page
You’ve created a new page and now you want to add it to your WordPress menu. Just follow these steps to add your new page to the menu:
- From the Dashboard, hover over Appearance then click on Menu.
- Select the menu you want to add your page to.
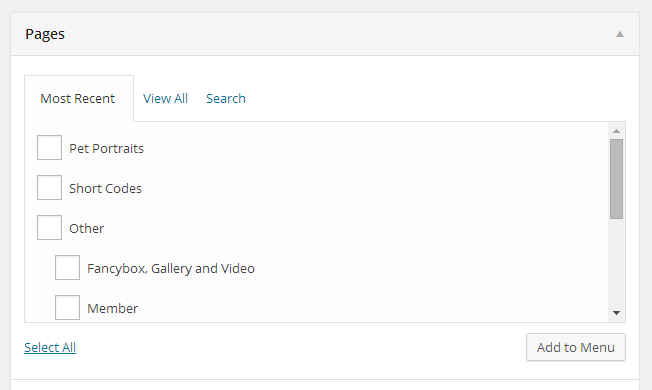
- In the Pages section on the left, select your new page. WordPress automatically populates your most recently created pages and posts, but you can also choose to View All or Search for the page you want to add.

- Click on the Add to Menu button. You will notice your page now appears at the bottom of the Menu Structure list.
- Drag the page to the desired menu location.
- If you are having trouble dragging the page, click the triangle next to the menu item to expand the menu options. There you can select various Move options.
- When you click the Save Menu button your changes are saved and the menu is live.
Adding a Post to Your Menu
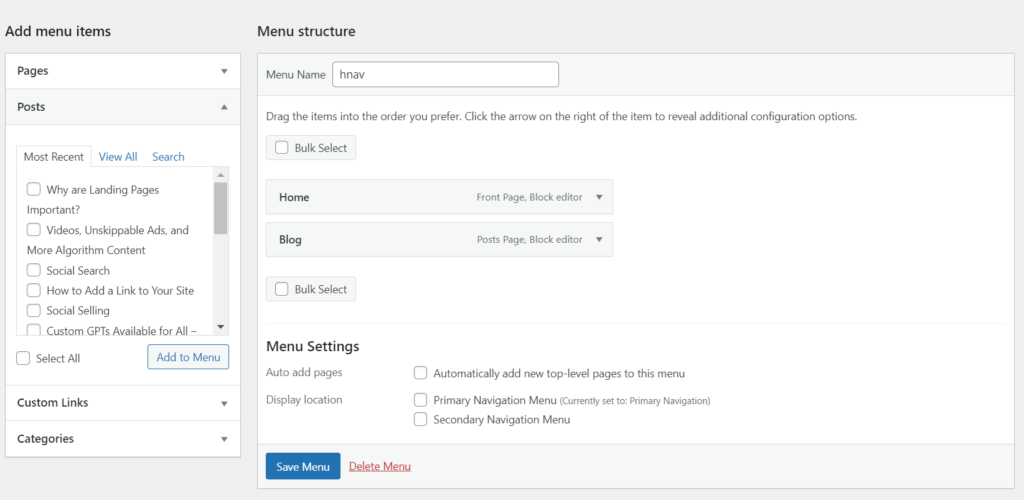
Adding a post to your menu is very similar to adding a page to your menu. Under the Add Menu Items section, simply select Posts instead of Pages to add a post to your menu. Your most recent posts will populate or you can View All or Search Posts here, as well.

Adding A Blog Category To Your Menu
Categories help guide your viewers to specific topics within your blog. If you want to add a category to your menu here are the steps you should follow:
- Go to your WordPress dashboard and click on Appearance.
- Select Menus.
- On the Menus page you can view and edit a menu or create a new one.
- Select the menu you would like to edit.

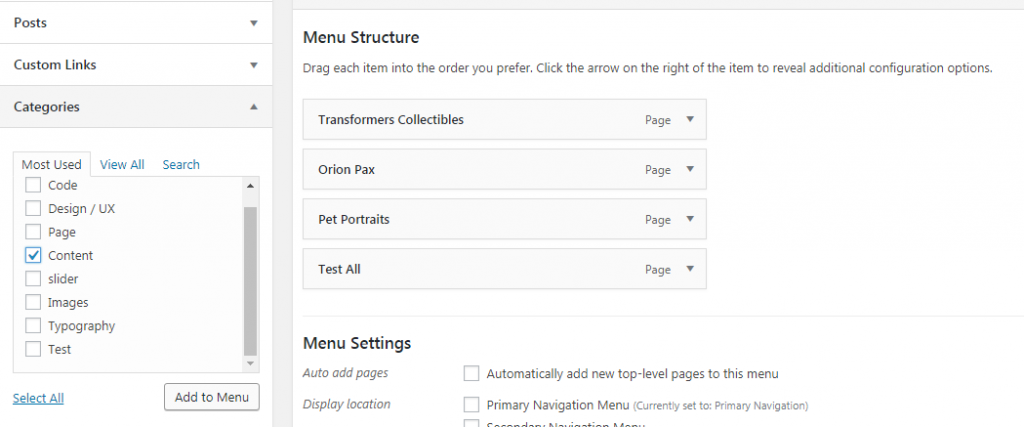
- On the left hand side select the categories tab.
- Pick the category you want and click add to menu.

- You can move your category position within your menu also, depending on where you would like it to fall.
- Click Save Menu.
Adding Custom Links to Your Menu
You can also choose to add custom links to your menu. This is useful if you have add-ons to WordPress where you want to link to a specific view or product category, or if you want to link to a PDF or other document on your site. Generally speaking you don’t want to include links that take you away from the main site in the menu options. This can be confusing as users don’t understand that they are leaving your site.

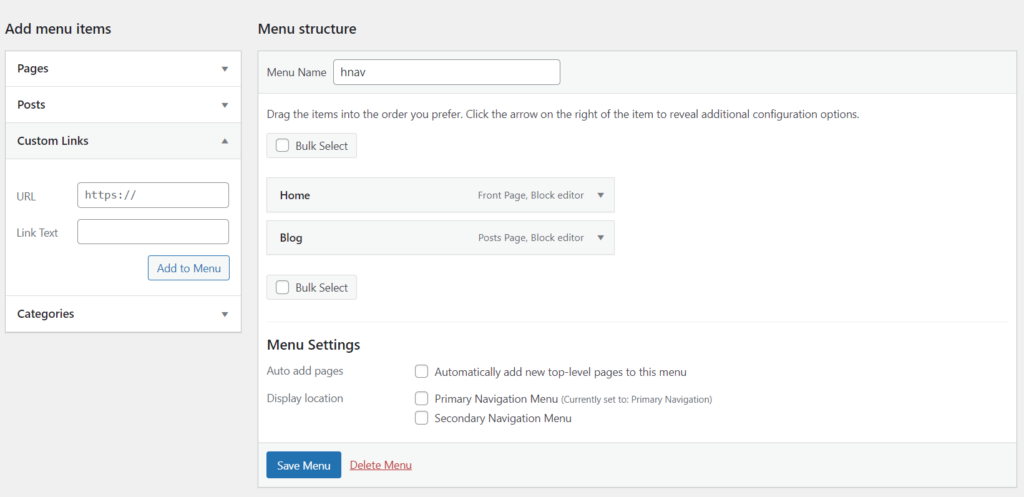
- From Add Menu Items, select Custom Links.
- Paste the URL.
- Type in your link text. This could be something like “Resource Guide,” depending on where you are having your visitors navigate to.
- Then drag and drop your menu item where you would like it to appear.
- Click Save Menu.

